6 Test rig and fixtures
6.1 Test rig
The test rig shall be a compression or tensile testing machine or similar (shear testing) machine of sufficient capacity to apply the shearing load by activating a ram.
The test rig shall provide equipment to register the exact load applied at the instant of shear failure.
The load application rate shall be controlled in such a way that the load increases at an average rate of
(4 500 ± 1 000) N/s (as determined from typical vehicle-based evaluation). If a constant crosshead speed machine is being used, the load rate shall be set to (10 ± 1) mm/min. Indicate on the test report the type of
machine control (load rate or crosshead speed) used for the test, so that it allows comparisons of results between different test rigs. Avoid any shock loading during the test.
6.2 Fixtures
6.2.1 General
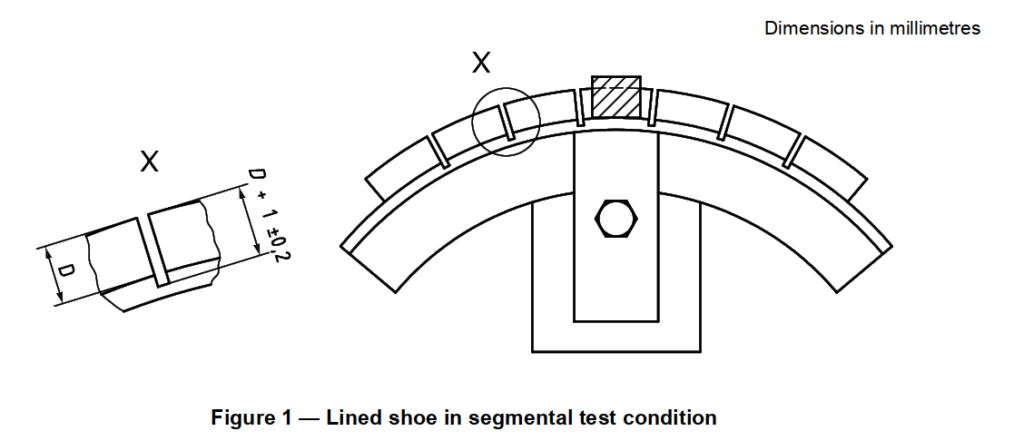
The shearing test fixture shall have the means to hold a test sample such that it is parallel to the loading tool. To avoid sharp edges, this tool shall have a radius of 2 mm or less at the part in contact with the test sample. If a specific radius is used, note it on the test report as a deviation from the test procedure. If the surface area of the loading tool includes the draft angle of the friction material, note it on the test report.
6.2.2 Drum brake shoe assembly
The fixture (see Figure 2) shall be designed so that the loading tool is in contact with the edge of the lining for the full sample length and thickness within (1 ± 0,2) mm of the shoe platform.
The load application on the loading tool shall be in a direction parallel to the plane of the shoe platform. Support the shoe to maintain uniform loading along the length of the lining sample.
The width of the loading tool shall be greater than the width, W, of the lining.
6.2.3 Disc brake pad
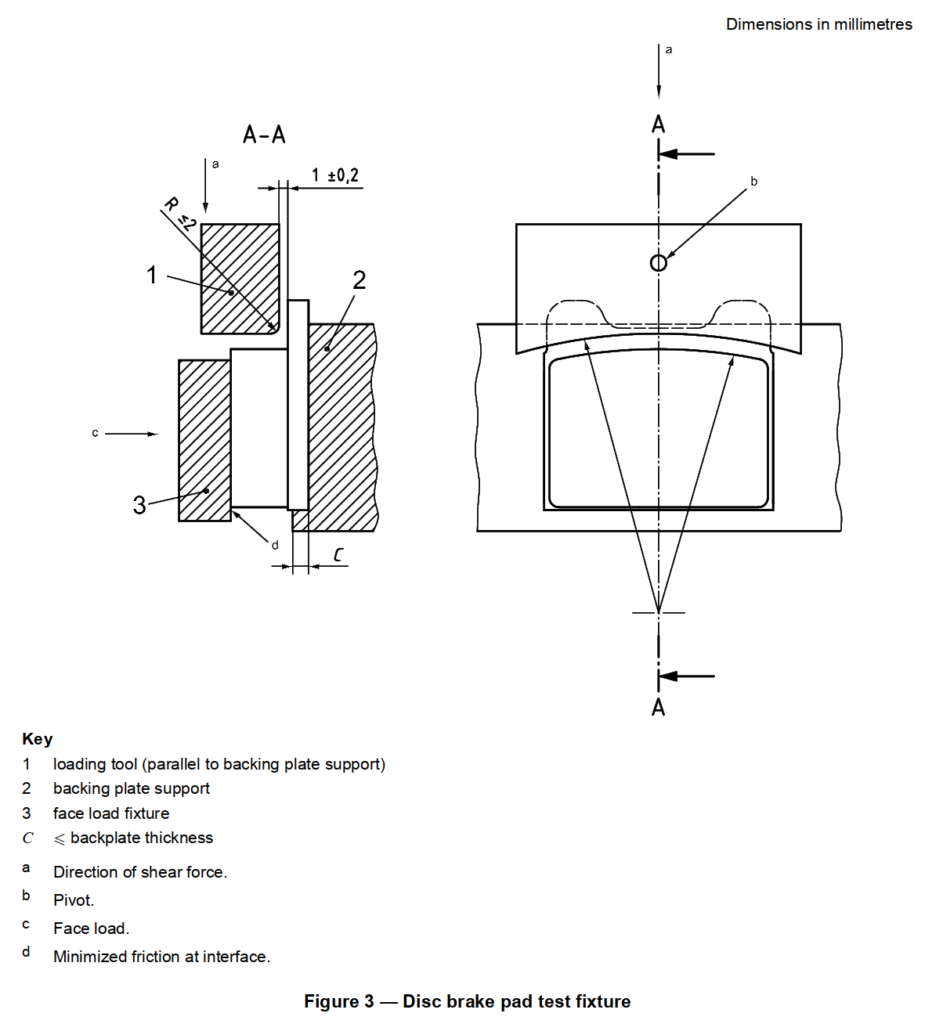
Design the test fixture (see Figure 3) such that:
⎯the location of the plane of the backplate is parallel to the plane of the loading tool;
⎯the loading tool is in contact with the edge of the lining within (1 ± 0,2) mm of the backing plate (carrier)
and conforms to the sample lining profile, including as optional draft angles from the moulding process;
⎯the loading tool is self-aligning;
⎯the loading tool is in contact with the full sample length of the lining edge parallel to the backplate support;
⎯the load-bearing edge of the backing plate rests against a rigid support with a thickness no greater than that of the backing plate;
⎯in order to prevent assembly movement under testing, a pressure fixture applies a face load of (0,5 ± 0,15) N/mm2 of the lining area at a right angle to the shear load;
⎯the face load is applied in such a way that friction force is minimized and does not significantly influence the shear load measurement.

7Test procedure
Carry out the test procedure as described below (Figure A.1 provides a flowchart of the test procedure).
a)Conduct the test at ambient temperature (23 ± 5) °C. Agree with customer prior to testing for other ambient conditions.
b)When conducting a shear tests at elevated temperatures, heat the sample uniformly to the bond line temperature within 30 min and test 60 s after removal from the heating unit. Recommended temperatures are (200 ± 10) °C for drum brake linings and (300 ± 10) °C for disc pads.
c)Place the brake shoe or disc brake pad in the appropriate shear-test fixture in the orientation indicated for the test (radial or tangential).
d)Apply the load at the rate specified in 6.1, continuing until complete failure occurs.
e)(Optional) Record the failure load together with the shear pattern expressed as a percentage as specified in Clause 9. Assess the fracture surface of uncut edges (2 mm from the friction pad or brake shoe outline) and core zones separately. If a visual assessment is doubtful, perform (optional to the test requestor) an analysis with a reference solution as described below.
1)Prepare 1,0 l of reference solution by mixing:
⎯80 g of CuSO4;
⎯30 g of NaCl;
⎯100 ml of 0,01 N hydrochloric acid (0,364 6 g HCl in a 1,0 l solution);
⎯add distilled water or de-ionized water to obtain a total solution volume of 1,0 l.
2)Immerse the backplate in the reference solution for 5 s.
3)Assess the fracture condition and record as follows:
⎯a material has fractured when the fracture surface is not coloured brown by the reference solution;
⎯ if there is a bonding fault between the glue and the backplate, there will be a regular and homogeneous brown colouring at the surface of fracture.
8 Calculation of shear strength
Calculate the shear strength, τ, using Equation (1), as follows:

Calculate A from the friction material profile at the bond line and not at the pad face, as chamfers or slots are pad surface effects.
Report the shear strength as the minimum and the average of the results of the number of samples tested.
9 Presentation of results
Thetest report (see Annex B) shall include the following information:
a)type and supplier of the brake shoe assembly or disc brake pad friction material, and batch identification;
b)sample type and load orientation when testing using a section or coupon;
c)number of samples tested (five recommended);
d)minimum and average shear force, or minimum and average shear strength, values, or both;
e)loading tool with/without taper angle from moulding process;
f)a description of the shear pattern, based on:
1) percentage failure:
⎯ exposing the clean carrier,
⎯ within adhesive layer,
⎯ within the lining or underlayer,
2) location of any clean carrier areas;
g)comments (including mention of samples used as specified in Clause 5) on deviations from normal test conditions, such as a special test temperature.
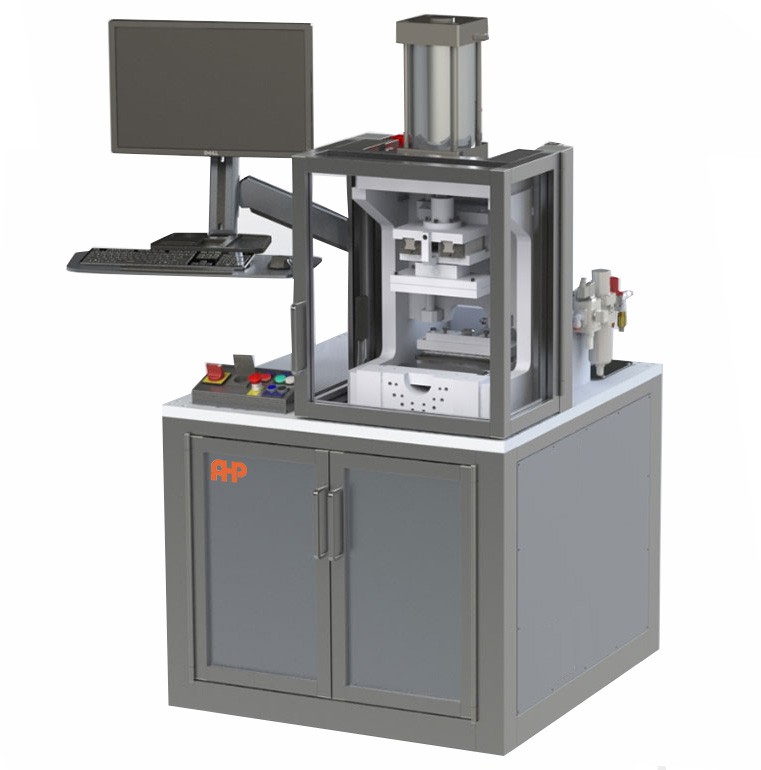
Measurement of the shear strength of the friction material to the lining
Standards and regulations: ISO 6312, SAE J840TM NOV2017, JIS D4422-2007
- Dimensions of Pads: 8-250 cm²
- Max. Dimensions (with basement): 125×300 mm
- Shear Strength: 100/200 kN
- Vertical Pressure: 50 N/cm²
- Incremental Rate of Shearing Force: 4500 N/sec
- Includes Pneumatic vertical pressure
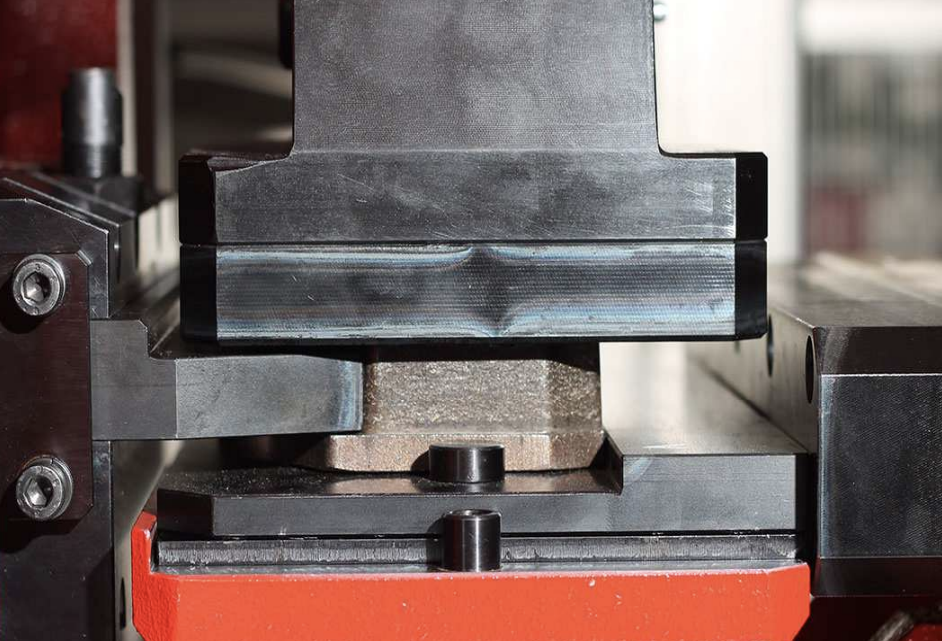
- Rams will be made for any specific product and can be easily mounted on the force applicator
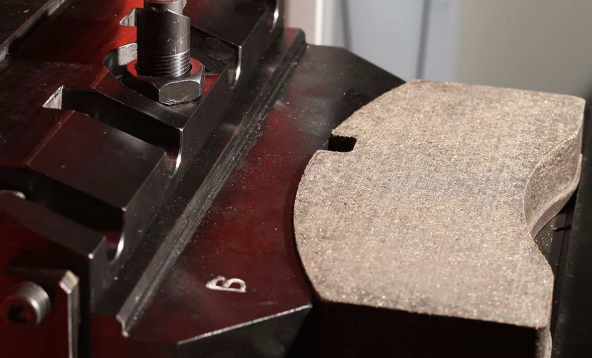
- Housing area of brake pad is 300 mm x 125mm
- The tilting vertical presser adapts to the surface of the pad and has a horizontal scrolling movement, that eliminates the interference of the friction of the pressure in relation to the movement of the ram
- Shear force reading by computer software
- Graphing of force in software
- Reporting in MS WORD
- Control of shearing force
- Control of vertical and horizontal pressure
- Options for loadcell:

